
I started making my own miso!
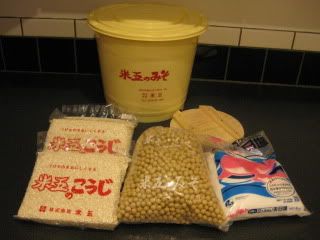
I ordered the ingredients from Komego from Fukui Prefecture, Japan (same region as my chabudai is from), and brought them back to Los Angeles. This traditional producer has been making miso for about 180 years since Edo Period. They make many different kinds of premium miso. Their homemade miso making set includes, Toyomasari soy beans from Hokkaido, Tenpi-jio (air-dried sea salt), and kome koji (malt rice), which are the three main ingredients for making miso.
Here's my report of full process.
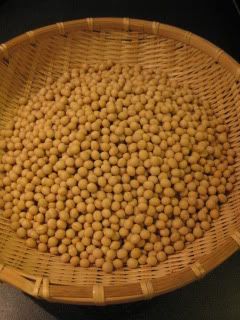
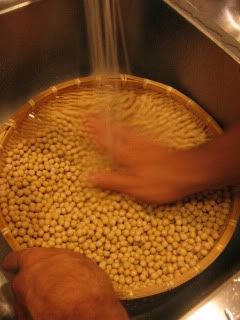
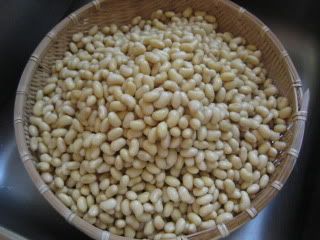
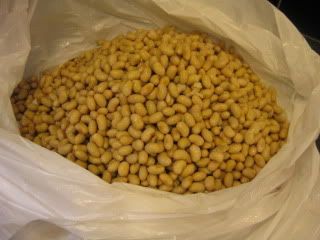
Beautiful soy beans (1.3 kg) are soaked with water overnight. Then, drained and rinse well.

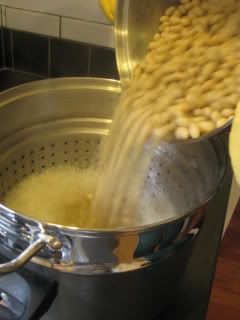
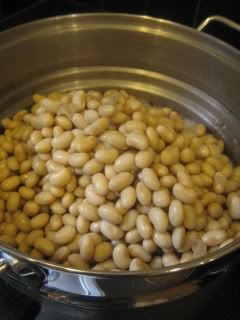
In a large pot, add the soy beans and water. Bring to a boil and reduce to simmer. Skim as necessary. Simmer until the beans are soft. Add more water if the water is reduced too low. It took me just about 4 hours for the beans get cooked. Separate the beans and cooking water. Keep the cooking water. Cool down the beans a touch.
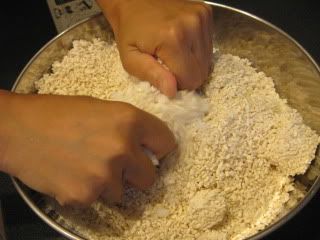
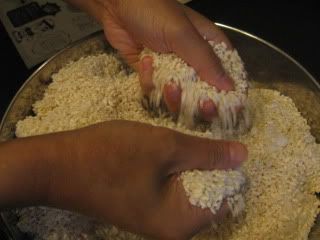
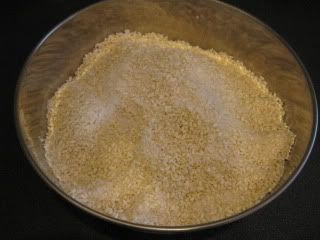
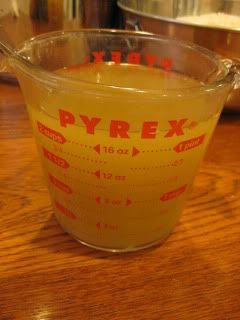
Meanwhile, combine the salt (630 g) and kome koji (1.5 kg) in a large bowl. Make sure to finly break all the crumbly chunks and all the kome koji grains are covered with the salt. Kome koji is the malt rice which is moulded with the koji seeds. It's used as the starter for making miso as well as sake. It had the nice smell which reminded me of sake fermentation. In a separate cup, combine the water from cooking the soy beans (500 ml) and salt (65g) and set aside.
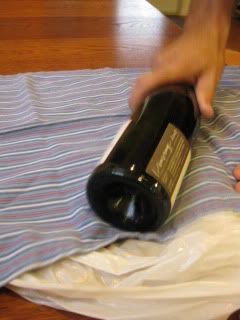
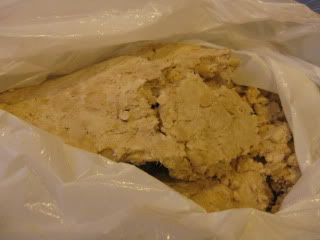
While the soy beans are still very warm, put them in a plastic bag (we used a trash bag), cover it with a towel, and mash with an empty bottle until the beans are almost like paste.
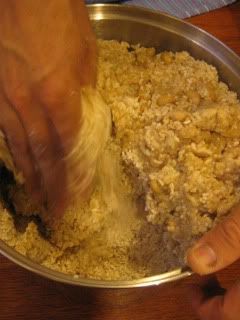
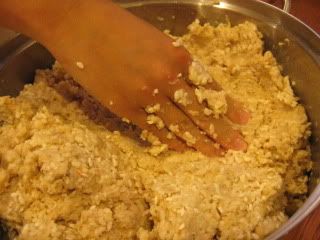
In a very big pot (or a bowl), combine the mashed soy beans, salt-kome koji mixture, and cooking water-salt mixture by hand. Mix well until they become the tight paste.
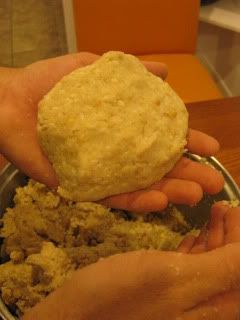
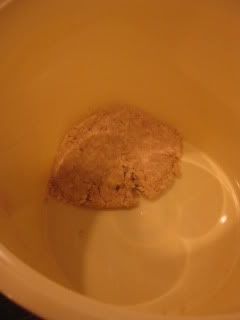
Transfer the mixture into a barrel. Take a handful of the mixture at a time and press well. Throw it to hit the inside bottom corner of the barrel to make sure the air is out. Continue with the rest of the mixture.
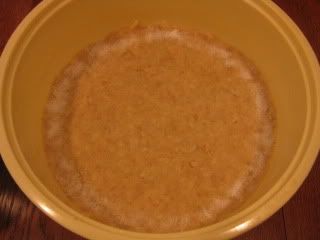
Once all the mixture is transferred to the barrel, press again to make sure the mixture is air-tight. Press the rim with the salt (5 g). The salt will help preventing the surface from growing mold.
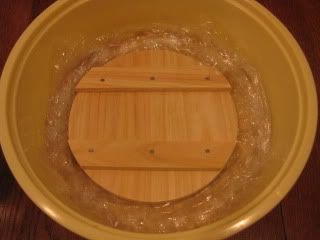
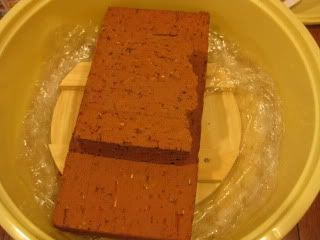
Line the surface with a plastic wrap, then put the inner lid and the weight (about 1.8 kg).
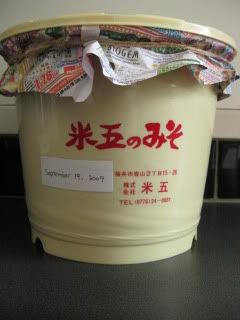
Put the outer lid and cover with a piece of old paper, then tie the top with a string tightly. The barrel should be kept in the cool area. The miso should be ready in 6-8 months (it will take longer if you make it in the cooler climate area, or start it in the winter time). Since Los Angeles has the warm climate, after the first month, I will open to check it, then stir the mixture so that the bottom part can come to the top. This process is necessary for the even fermentation because the top part, which is in contact with more air tends to ferment faster while bottom part doesn't.
But, if you make it in the winter in the cool climate area, you need to open the lid and stir the mixture for the first time after you make the miso. After this process, tightly press the mixture again, cover the surface with a new plastic wrap, put the weight back on and tightly cover again just like the first time.
I will start tasting the miso mixture probably after 5-6 month then taste every month to see if it's ready.
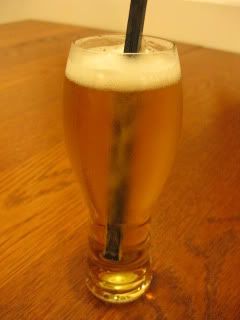
Wow, it was a long and pretty labor-intensive process to make the miso. Jason helped me a lot with the physical labor. We totally had a blast making it for the first time and think the result will be worth all our effort. I want to make the miso making our yearly tradition! The beer tasted so good after we are finally done with our first miso making. Kanpai!

I ordered the ingredients from Komego from Fukui Prefecture, Japan (same region as my chabudai is from), and brought them back to Los Angeles. This traditional producer has been making miso for about 180 years since Edo Period. They make many different kinds of premium miso. Their homemade miso making set includes, Toyomasari soy beans from Hokkaido, Tenpi-jio (air-dried sea salt), and kome koji (malt rice), which are the three main ingredients for making miso.
Here's my report of full process.


Beautiful soy beans (1.3 kg) are soaked with water overnight. Then, drained and rinse well.


In a large pot, add the soy beans and water. Bring to a boil and reduce to simmer. Skim as necessary. Simmer until the beans are soft. Add more water if the water is reduced too low. It took me just about 4 hours for the beans get cooked. Separate the beans and cooking water. Keep the cooking water. Cool down the beans a touch.


Meanwhile, combine the salt (630 g) and kome koji (1.5 kg) in a large bowl. Make sure to finly break all the crumbly chunks and all the kome koji grains are covered with the salt. Kome koji is the malt rice which is moulded with the koji seeds. It's used as the starter for making miso as well as sake. It had the nice smell which reminded me of sake fermentation. In a separate cup, combine the water from cooking the soy beans (500 ml) and salt (65g) and set aside.


While the soy beans are still very warm, put them in a plastic bag (we used a trash bag), cover it with a towel, and mash with an empty bottle until the beans are almost like paste.


In a very big pot (or a bowl), combine the mashed soy beans, salt-kome koji mixture, and cooking water-salt mixture by hand. Mix well until they become the tight paste.


Transfer the mixture into a barrel. Take a handful of the mixture at a time and press well. Throw it to hit the inside bottom corner of the barrel to make sure the air is out. Continue with the rest of the mixture.

Once all the mixture is transferred to the barrel, press again to make sure the mixture is air-tight. Press the rim with the salt (5 g). The salt will help preventing the surface from growing mold.


Line the surface with a plastic wrap, then put the inner lid and the weight (about 1.8 kg).

Put the outer lid and cover with a piece of old paper, then tie the top with a string tightly. The barrel should be kept in the cool area. The miso should be ready in 6-8 months (it will take longer if you make it in the cooler climate area, or start it in the winter time). Since Los Angeles has the warm climate, after the first month, I will open to check it, then stir the mixture so that the bottom part can come to the top. This process is necessary for the even fermentation because the top part, which is in contact with more air tends to ferment faster while bottom part doesn't.
But, if you make it in the winter in the cool climate area, you need to open the lid and stir the mixture for the first time after you make the miso. After this process, tightly press the mixture again, cover the surface with a new plastic wrap, put the weight back on and tightly cover again just like the first time.
I will start tasting the miso mixture probably after 5-6 month then taste every month to see if it's ready.

Wow, it was a long and pretty labor-intensive process to make the miso. Jason helped me a lot with the physical labor. We totally had a blast making it for the first time and think the result will be worth all our effort. I want to make the miso making our yearly tradition! The beer tasted so good after we are finally done with our first miso making. Kanpai!
