
I often make my own tofu by using the purchased soy milk. (I like the quality soy milk from Meiji Tofu in Gardena.)
But this time, I made the tofu from very scrach...with the soy beans.
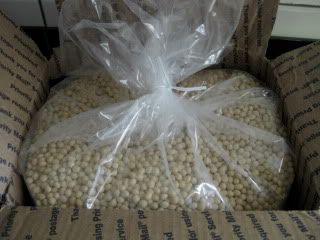
I got the organic soy beans from Iowa. I soaked 300 grams of their soy beans with 1.2L water overnight.
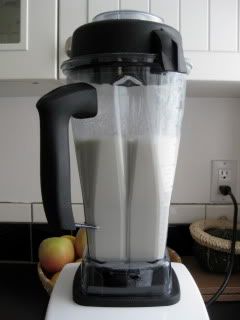
Next day, in two batches, the soaked beans and water were blended until very smooth. It looked like the milk shake, but it smelled very raw and "beany" at this point. This mixture, in Japanese, is called "go".
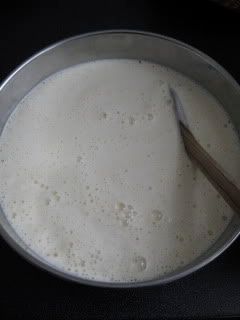
In a large pot, 1.5L of water was boiled and the "go" was added. After it was almost boiling, the heat was reduced to low. I had to keep stirring meanwhile. After the heat was turned to low, I continued to stir for another 5 minutes. The aroma turned from "beany" to the nice "soy milky".
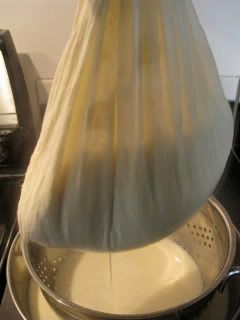
The mixture was immediately strained through the cotton mesh bag over the strainer to separate the soy milk and the soy pulp (leftover). The bag was squeezed very tightly at the end so that the soy milk was all milked. The leftover soy pulp is called "okara". This is very flavorful and still high in protein and has a lot of nutrients. So, I saved it for cooking. I love cooking with okara! I think I'm going to make okara croquette this week.
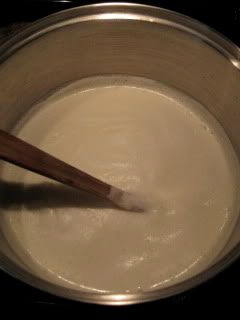
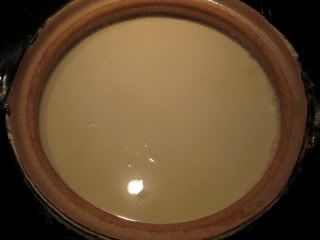
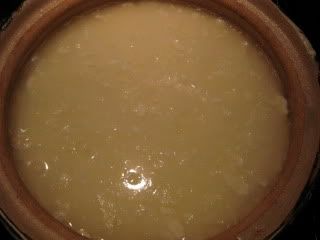
Here's the pure soy milk just strained. I started heating it again in the donabe (I used the classic-style donabe, "Hakeme") until the temperature reached 180F degrees. Then, I turned off the heat.
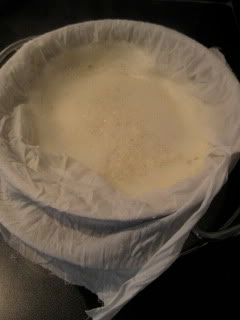
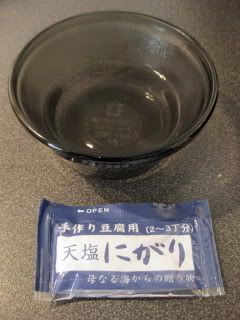
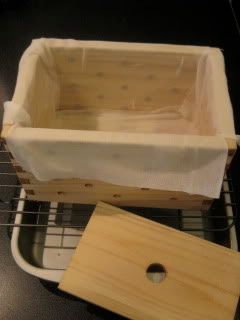
Once the heat is turned off, 12.5 ml of nigari (natural extract from sea salt making) was added to 50 ml of hot water. The mixture was immediately added to the heated soy milk. The donabe was covered with the lid and let rest for 20 minutes. While the mixture is resting, I got the tofu mold ready. The wooden perforated box was pre-soaked with water for 15-20 minutes. Then, the inside was lined with the cotton cloth.
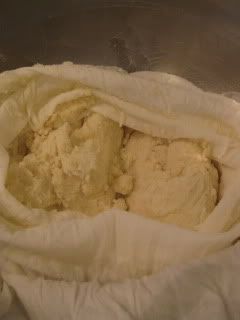
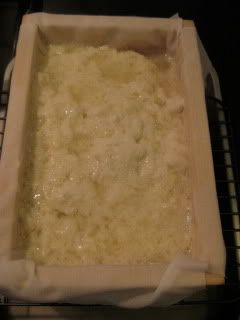
After 20 minutes of resting, you see the separation of the solid and water. The solid part is crumbly and curdled. Now it's ready to form in the mold. With the slotted spoon, the solid was carefully transferred to the wooden mold on the rack. Under the rack is a pan which can catch all the water drained.
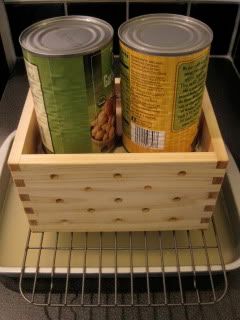
The top was covered and two cans were placed gently as the weights. With this position, I waited for about 20 minutes.
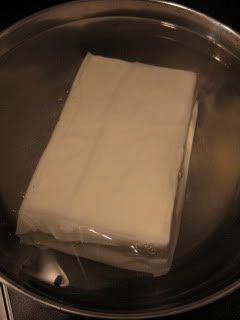
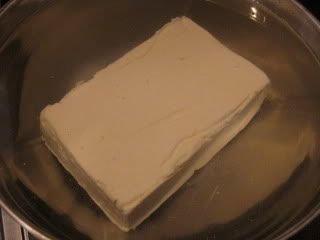
After removing the weights, I carefully let the tofu (with the cotton cloth) slide out from the mold in the water in the large bowl. Then I, again, carefully removed the cotton cloth.
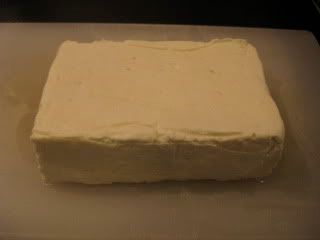
My very homemade tofu is ready. I had it with the salt ponzu, shaved bonito/ kombu flakes, and minced scallion. Yes, it's a lot of work to make a piece of homemade tofu, but the homemade is always very special.
I'm loving the art of tofu making as much as the art of miso making.
 Tofu
Tofu